CoreView Release Notes v2026.10.15

CoreView is now available on the App Store for iPhone, iPad, Mac, Apple TV, and Apple Vision Pro, and as a notarized app for your Mac directly from our website.
CoreView connects directly to the cameras on your local network. It works with ONVIF and RTSP cameras, UniFi Protect, Rhombus, and the cameras built into or plugged into your Apple devices. Your video goes straight from the camera to your device, and you can use cameras from any brand together in one app.
This is the first public release, so these notes cover everything CoreView can do.
Get CoreView Now
- App Store
- TestFlight
- Web Download (Apple Notarized App)
Add cameras your way
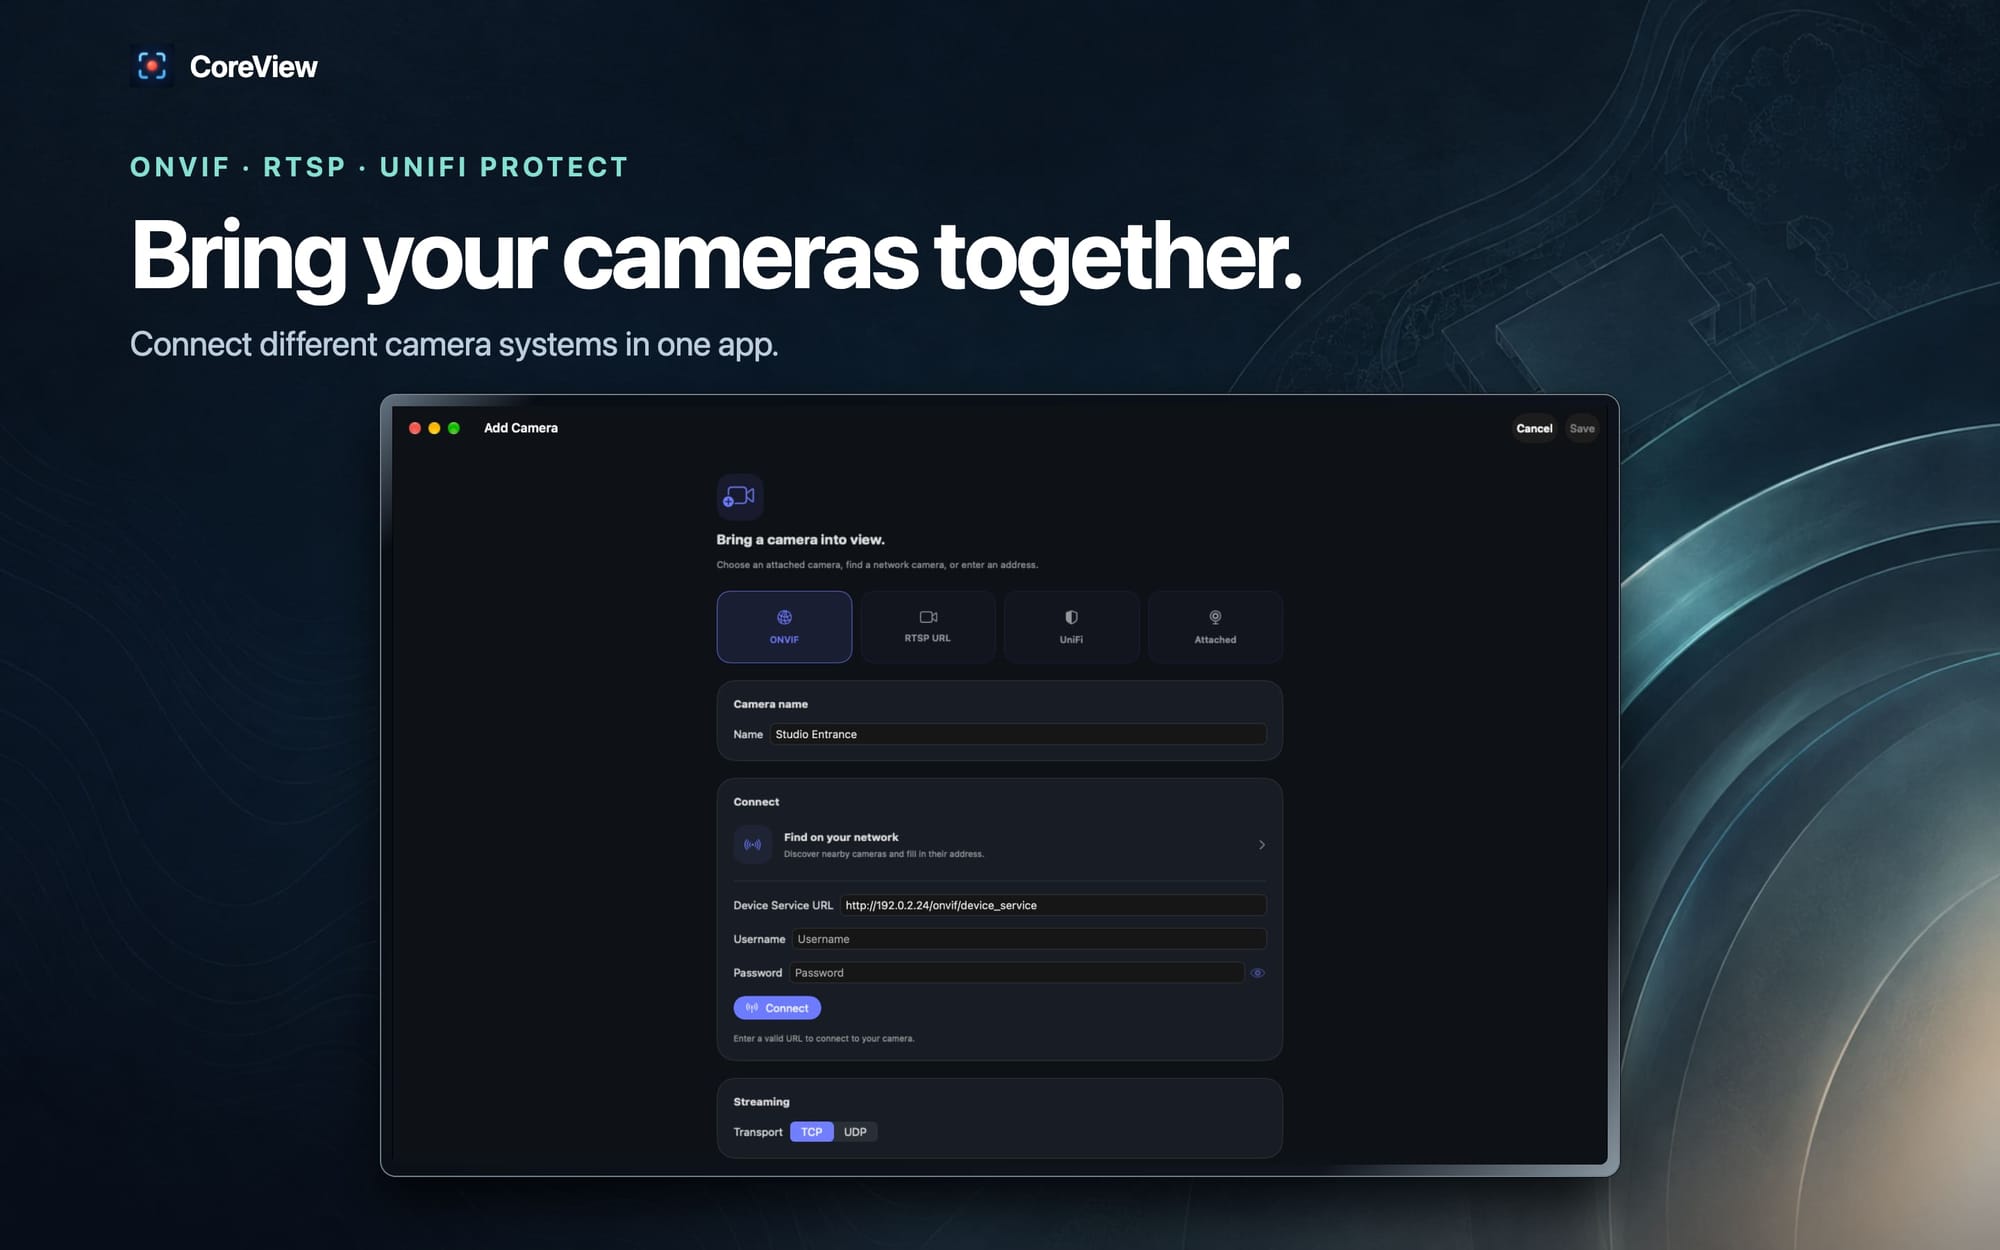
CoreView supports five kinds of cameras. Each one has a guided setup, and in most cases you don't need to type an address.
- Set up in the main window. Adding or editing a camera opens a page in the main window. In a wide window, discovery sits beside the form. Choose a device from the list, and its details and streams take its place. In a narrower window the sections stack, and on iPhone discovery opens as a sheet. On Apple TV, setup fills the screen. If you leave with unsaved changes, CoreView asks first.
- See every stream before you choose. Each stream appears as a card with a picture from that stream and its details: video codec and profile, size, frame rate, bitrate, audio format (or "No audio"), and keyframe interval. Badges mark the default stream and show which of your cameras already use each one. CoreView opens each stream briefly, one at a time, to read what it really carries, which isn't always what the camera advertises.
ONVIF cameras
- Automatic discovery. CoreView finds ONVIF cameras on your network. Pick one, and CoreView fills in its address for you.
- Connect and choose a stream. Enter the camera's username and password, then connect. CoreView loads the camera's details (manufacturer, model, firmware, and serial number) and every stream the camera offers. Choose a stream, or keep the default.
- Multi-channel devices. You can add several cameras from one device, such as an NVR, an encoder, or a camera with more than one stream. Discovery shows how many cameras you've already added from each device, and each stream shows which of your cameras already use it. If you leave the credentials empty, CoreView reuses the ones you already entered for that device.
- Follows address changes. If a camera gets a new IP address, CoreView recognizes it by its device identity and updates the address for you. It also recognizes cameras you've already added when their address was saved with a different port or over HTTPS, so you won't add the same camera twice.
- Handles awkward setups. CoreView works with cameras that redirect from HTTP to HTTPS. It also adds the standard ONVIF service path when you leave it out.
RTSP streams
- Paste any RTSP URL. If a camera or encoder offers RTSP, CoreView can play it.
- Network scan. CoreView can scan your local networks for devices that accept connections on the RTSP port. The default port is 554, and you can choose any other.
- Basic and Digest authentication are both supported.
UniFi Protect
- Finds your Protect systems. CoreView discovers UniFi Protect consoles on your network. You can also add a console by its address, and you can connect more than one system.
- Two ways to sign in. Use an API key from Protect's Integrations settings, or use a local account. A local account also lists ONVIF cameras that Protect has discovered but not adopted.
- Browse and pick. CoreView lists each Protect camera along with its qualities, each as a stream card with a picture. It shows which cameras are offline or not adopted, and a quality with RTSP turned off shows as unavailable.
- Enable streams from CoreView. If you signed in with an API key, you can turn on a camera's high-quality stream without leaving CoreView.
- Secure streaming. CoreView streams over RTSPS and pins your console's own certificate. You can also turn on SRTP for any Protect camera to encrypt its media packets.
- Stays connected. If a console's address changes, CoreView picks up the new one automatically. When Protect reports that a camera is updating or rebooting, CoreView says so while it waits, and playback resumes when the camera reconnects.
Rhombus
- Connect your organization. Add a Rhombus organization with an API key from the Rhombus Console and its region (United States or Europe). CoreView checks the key when you save it, so a mistyped key is caught right away. You can connect more than one organization.
- Browse and pick. CoreView lists the cameras of every organization you've connected. Choose a camera to see its high and low quality streams as cards with pictures, along with its model, serial number, address, location, and organization.
- Video straight from the camera. CoreView plays the camera's raw H.264 stream from its address on your local network, over HTTPS. Rhombus creates these streams on request: a camera without one is listed but can't be chosen until you create its stream in the Rhombus Console. Rhombus raw streams carry video only, without audio.
- Keeps playing. If Rhombus's service can't be reached, CoreView plays the camera from its last known address.
Built-in, USB, and Continuity cameras
- Use the cameras on your iPhone, iPad, or Mac, including USB cameras and Continuity Camera.
- Each camera on the device appears as a card with a picture, its host device, and its video format. Previews appear once you've allowed CoreView to use the camera.
- Choose the video format (resolution and frame rate), or let CoreView pick one.
- You can also include audio from the host device's microphone.
Watch live
- H.264, H.265 (HEVC), and AV1 video, with audio in AAC, G.711, and other common camera formats.
- AV1 cameras. CoreView plays AV1 streams, such as every channel of the UniFi G6 PTZ. Devices with a hardware AV1 decoder (M3 and A17 Pro or later) use it. On other devices, CoreView decodes AV1 itself, and if the device can't keep up, it skips ahead to stay live rather than falling further behind. Snapshots, stream previews, and recordings work with AV1 too.
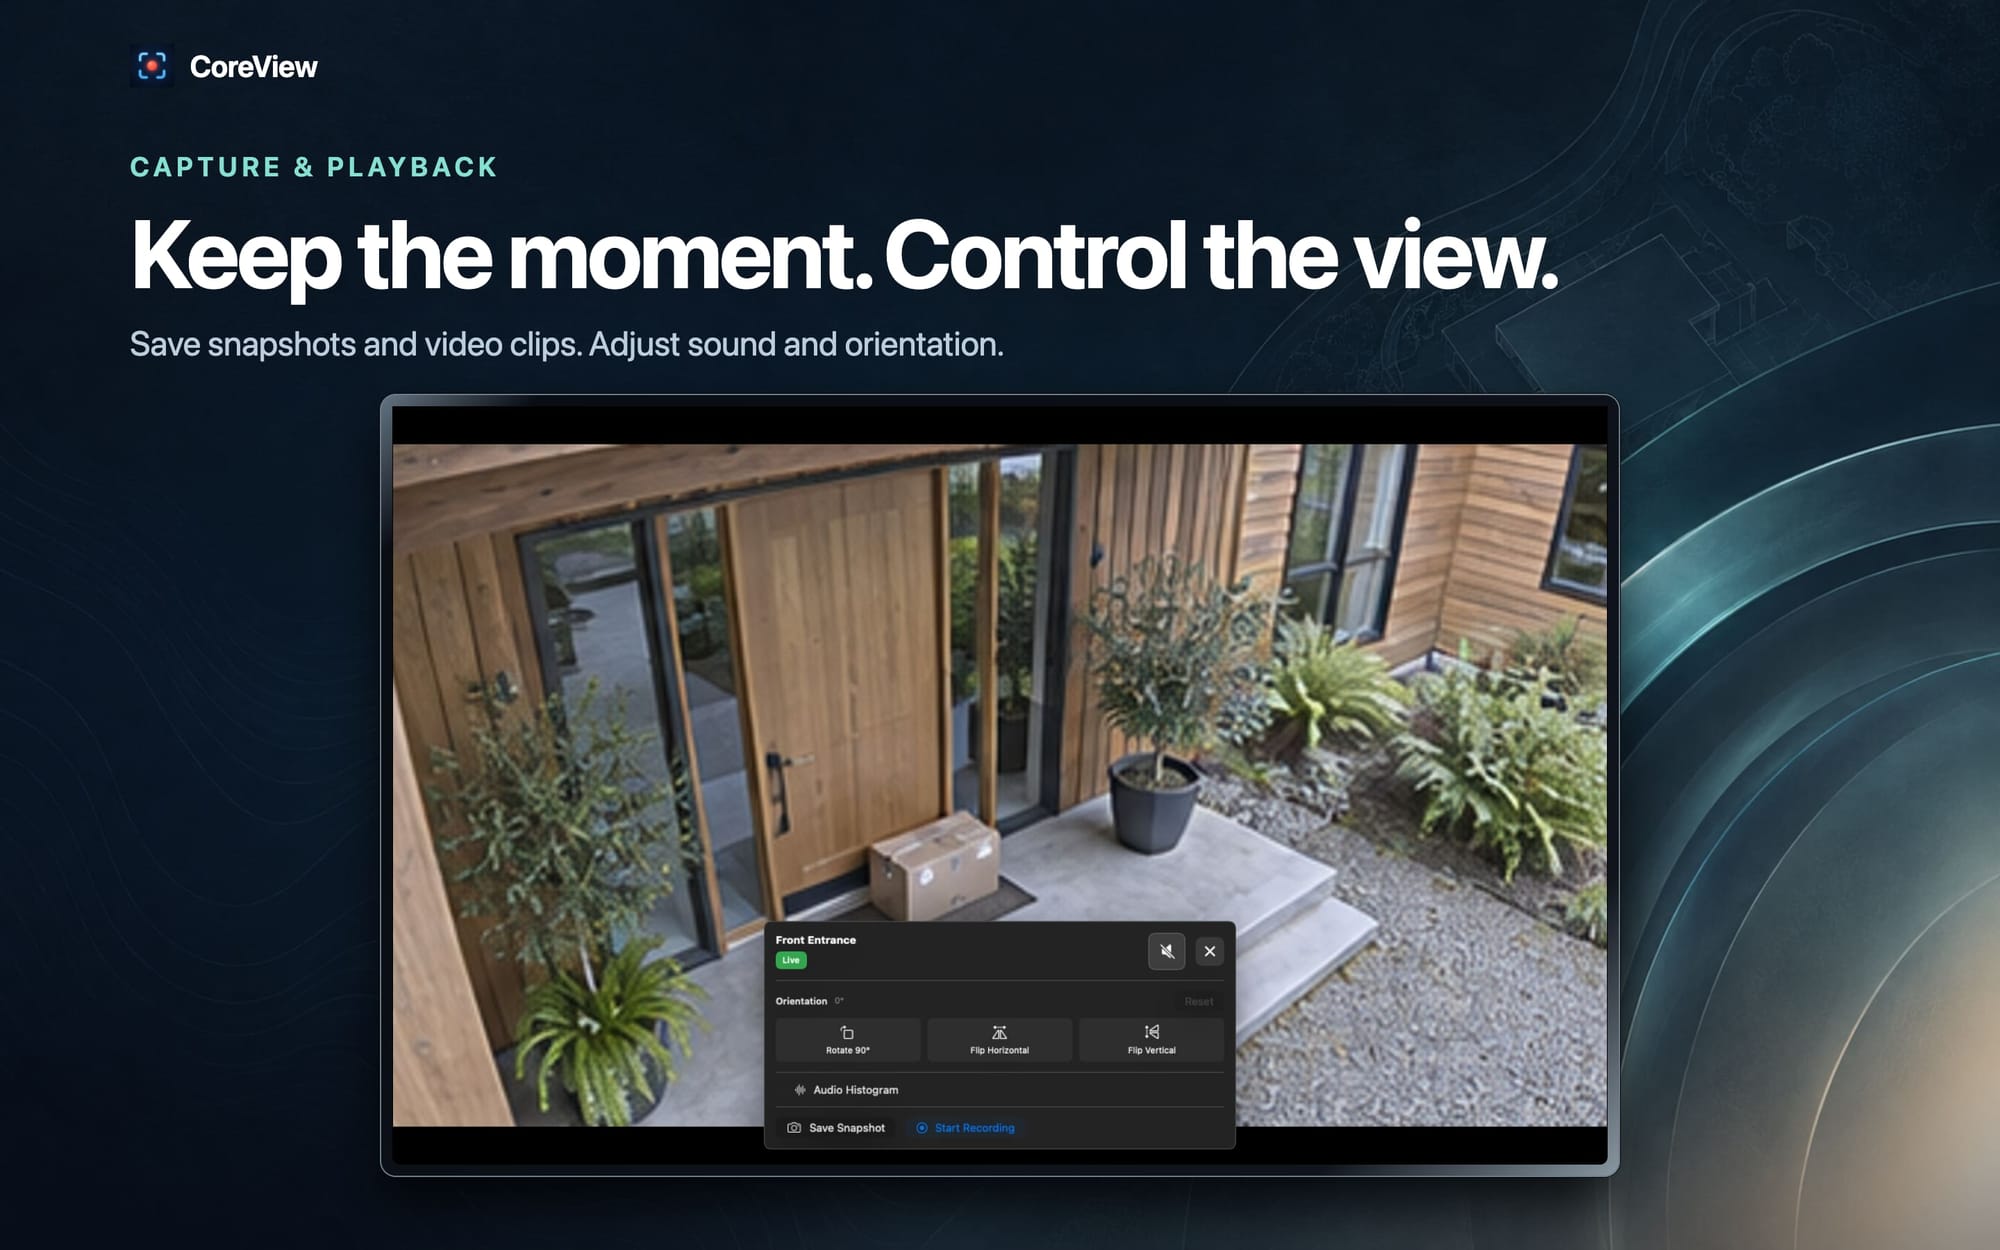
- Audio on your terms. Turn each camera's sound on or off and set its volume. CoreView remembers both settings for each camera.
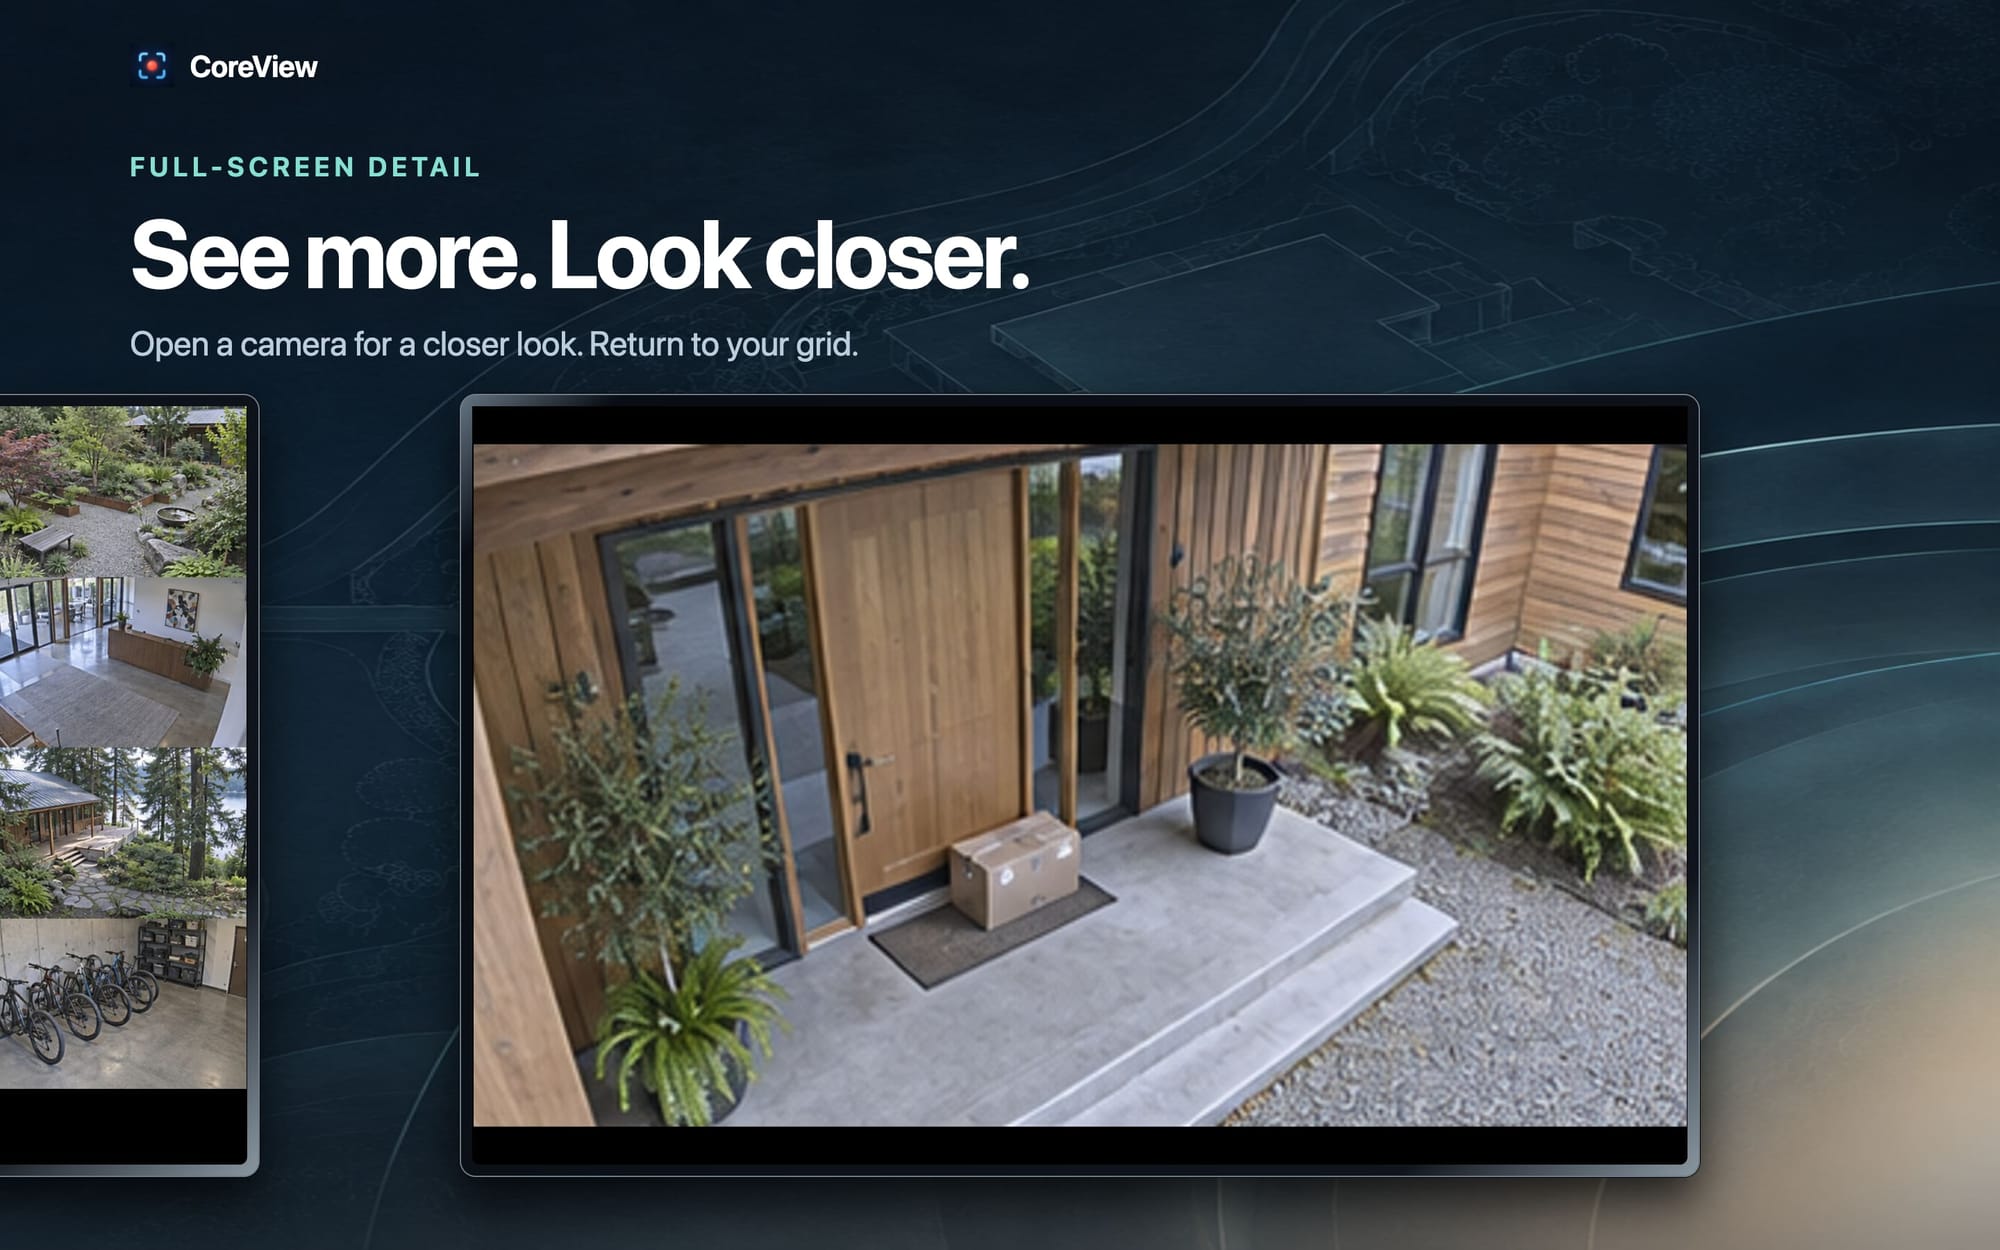
- Full screen and zoom. Go full screen, then pinch to zoom up to 8× and pan around the image.
- Fix the orientation. Rotate a camera in 90° steps, or flip it horizontally or vertically. CoreView remembers this for each camera, and for each camera within each group.
- Sound Levels. An audio histogram shows the last 12 seconds of sound above the room's background noise. It works even while the camera is muted, so you can see a sound without hearing it. CoreView learns the background level by itself, and you can ask it to relearn at any time.
- Automatic recovery. If a stream drops, CoreView reconnects within about a second. If the camera keeps failing, it waits longer between attempts. A status badge shows whether a camera is live or still connecting. When something goes wrong, CoreView explains the problem and offers a Retry button. CoreView also keeps RTSP sessions alive, so encoders don't close streams you're still watching.
- Picture in Picture. On iPhone, iPad, and Apple Vision Pro, a camera moves into Picture in Picture when you leave the app.
- Background audio. If a camera's sound is on when you leave CoreView, the audio keeps playing while the video pauses to save power. This makes CoreView a good baby monitor, and it works with groups too.
Pan, tilt, and zoom
- PTZ cameras from ONVIF and UniFi Protect. Turn on PTZ mode from a camera's playback controls, the same way you turn on Sound Levels. CoreView remembers the mode for each camera.
- Hold to move. Hold an arrow or zoom button to move the camera, and let go to stop. Home sits in the middle of the pad, and a Presets menu takes the camera to any of its saved positions.
- Directions follow the picture. If you've rotated or flipped a camera, the arrow that points left still moves the picture left.
- Your speeds. Set the pan, tilt, and zoom speed for each camera, from 10 to 100 percent, in the camera's settings or while PTZ mode is on.
- In groups too. Each camera in a group has its own PTZ mode, pad, and speeds.
- Keyboard control on the Mac. The arrow keys pan and tilt, and + and − zoom. Hold two arrows to move diagonally. In a group window, the keys move the camera whose PTZ mode you turned on most recently.
- On Apple TV, PTZ mode puts a pad beside the video. Each press moves the camera a short step, and Menu leaves PTZ mode. In a group, the pad moves the camera whose controls you opened last.
- UniFi Protect PTZ uses a local account. Protect only offers PTZ through a local account, so add a local account's username and password to your Protect system, even if you sign in with an API key. The account needs the PTZ Control permission for the camera in UniFi OS. If Protect refuses, CoreView tells you why.
Groups: many cameras, one view
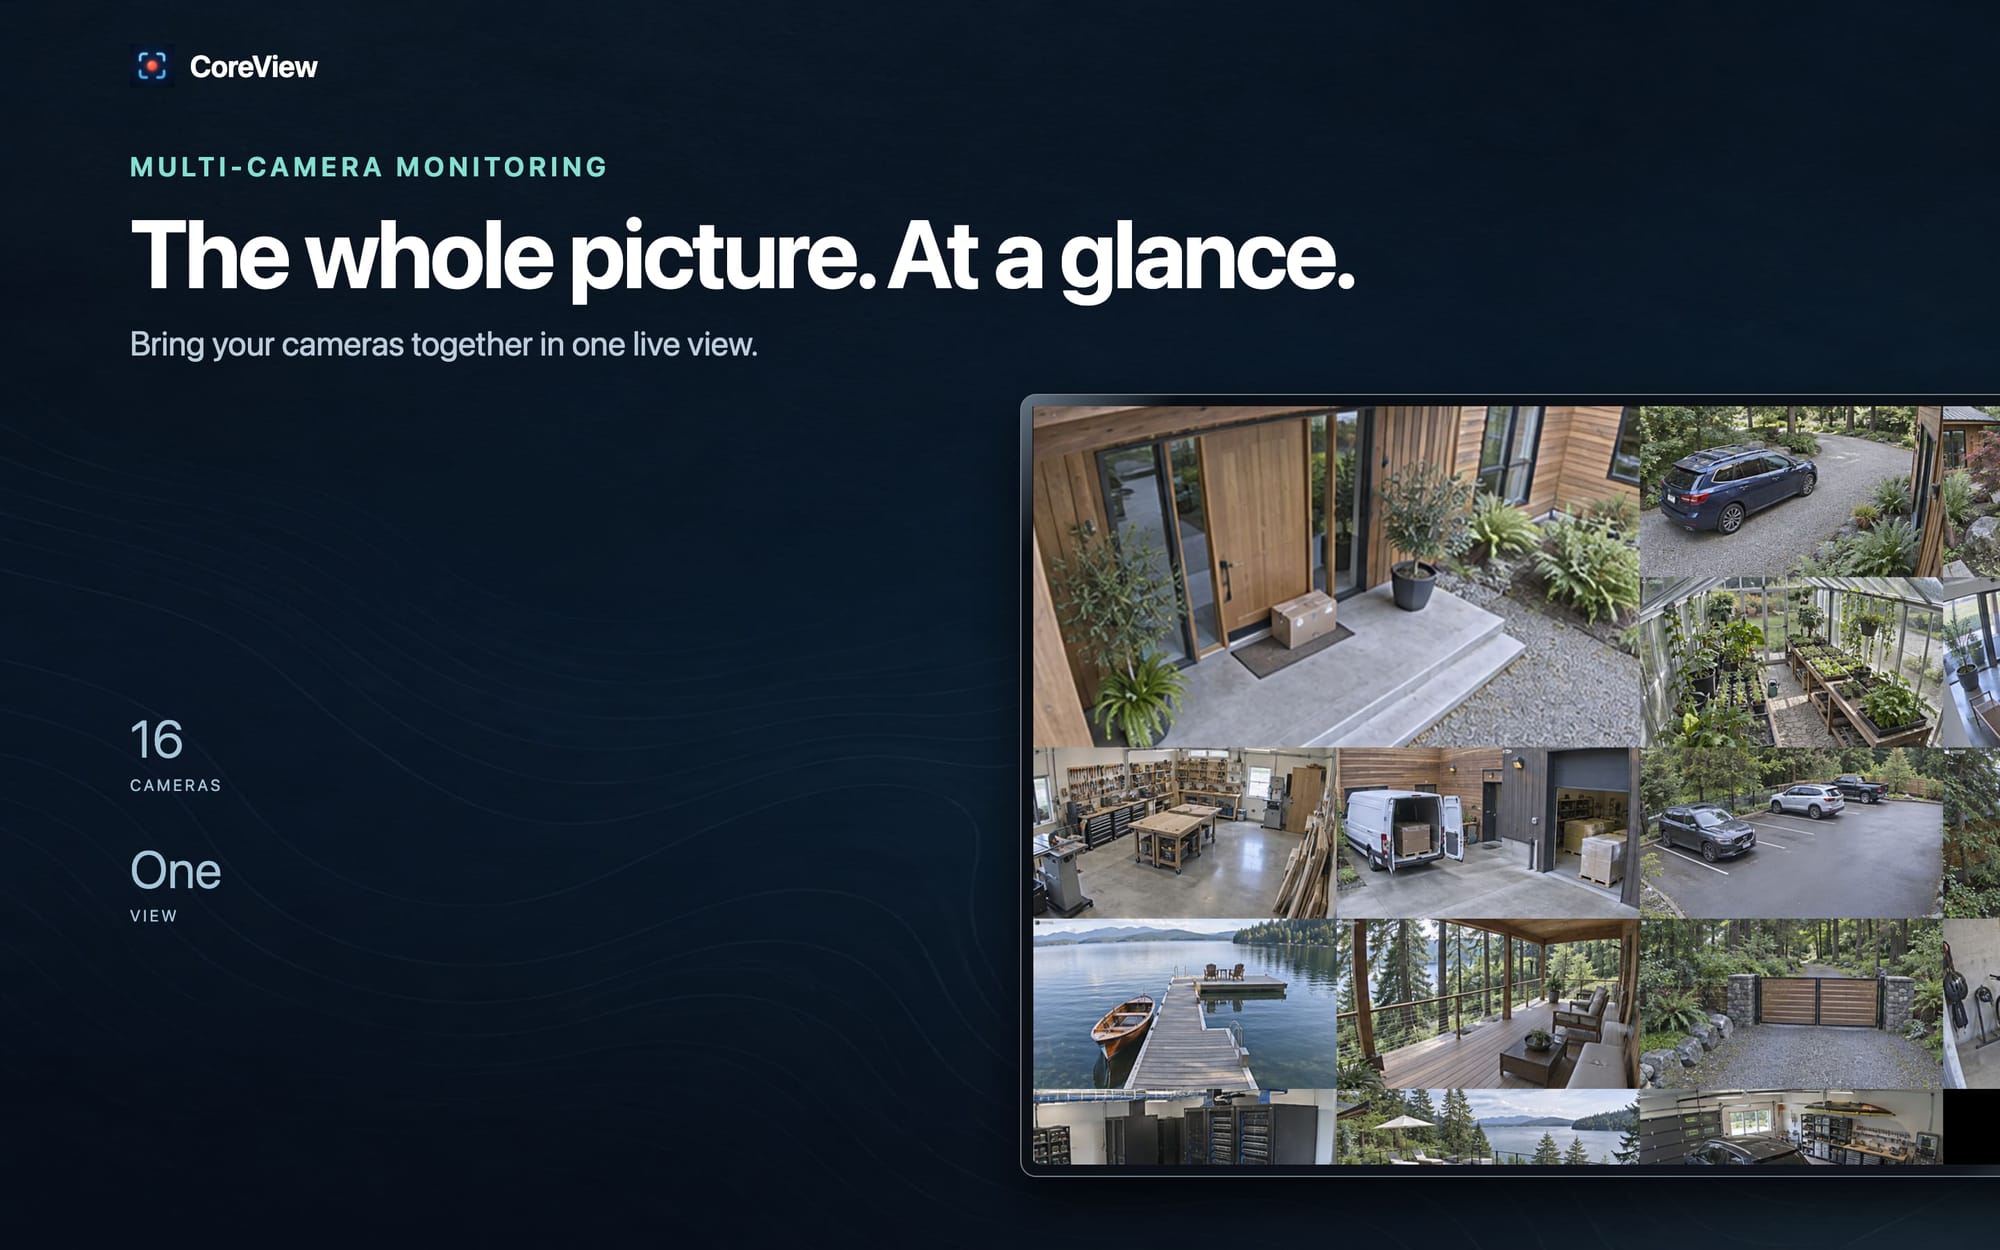
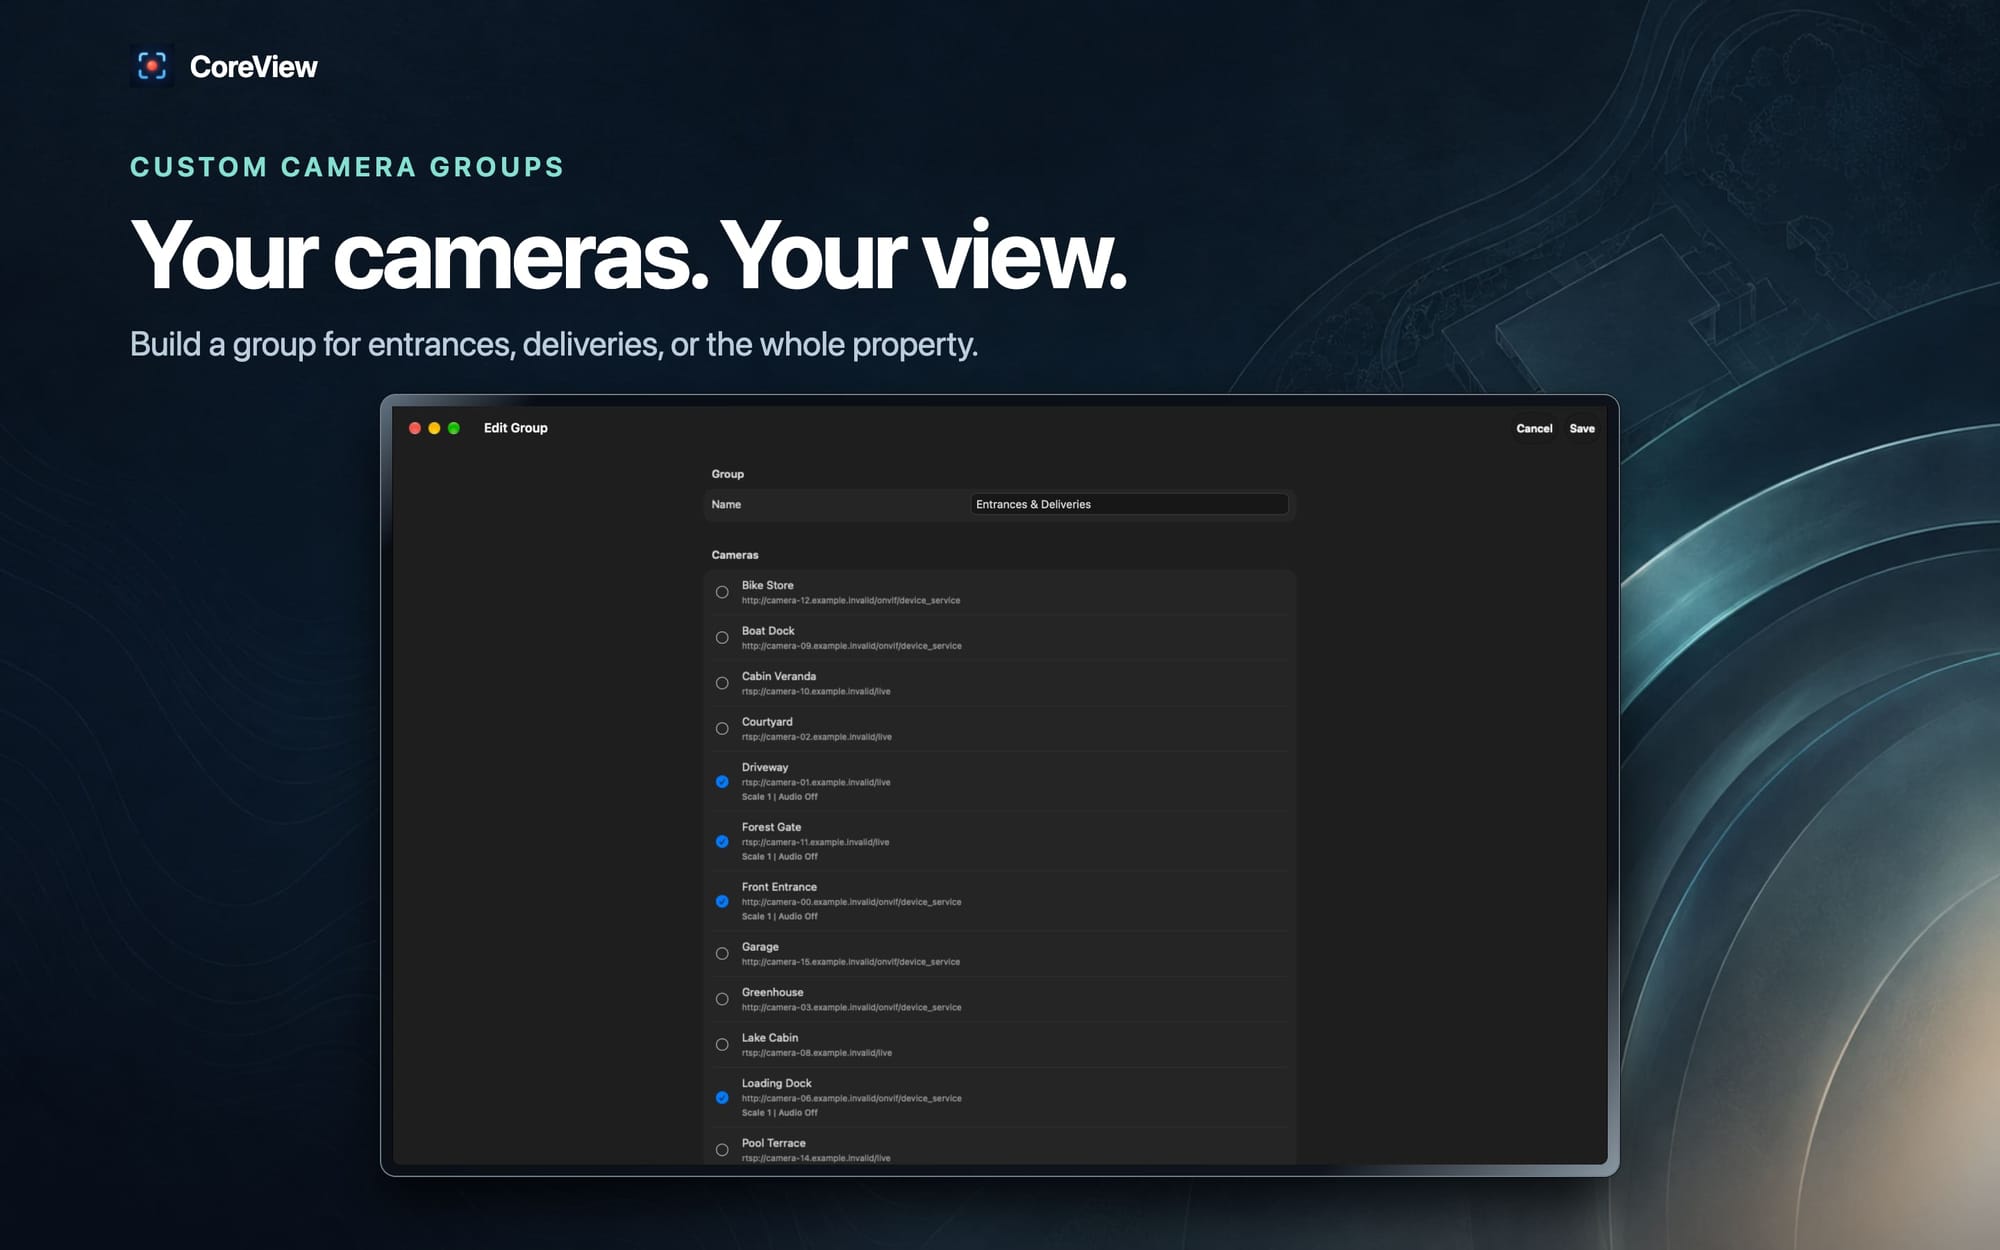
- Watch cameras together. A group shows several cameras in a mosaic.
- Smart layout. The automatic layout fits each camera's shape and fills the width of the window before it continues down, with no gaps or seams between tiles.
- Size what matters. Make any camera's tile larger or smaller. The group's scale controls how large a tile can grow, and Reset Layout puts every camera back in the automatic layout.
- Rearrange by hand. To reorder the mosaic, press and hold a tile, then drag it.
- Focus on one camera. Double-tap a tile, and the camera grows out of its place in the mosaic to fill the screen, with pinch to zoom. Return, and it shrinks back into its tile. Each tile has its own sound, volume, orientation, Sound Levels, and PTZ controls.
- Efficient streaming. Only the tiles you can see are streamed and decoded.
- Capture everything at once. Save All Snapshots and Record All Cameras each work across the whole group with one action.
Snapshots and recordings
- Save a snapshot from any camera, or record it, and the result goes straight to Photos.
- Recordings keep the camera's original video quality, because CoreView saves the stream as it arrives without re-encoding. Recordings include the camera's audio.
- If Photos can't accept a capture (for example, when access hasn't been granted), the capture waits in Settings › Captures. You can retry it from there, one at a time or all at once.
- On Apple TV, captures go straight to Photos. If Photos refuses one, CoreView tells you it wasn't saved.
- A capture's message clears on its own after a few seconds.
An organized library
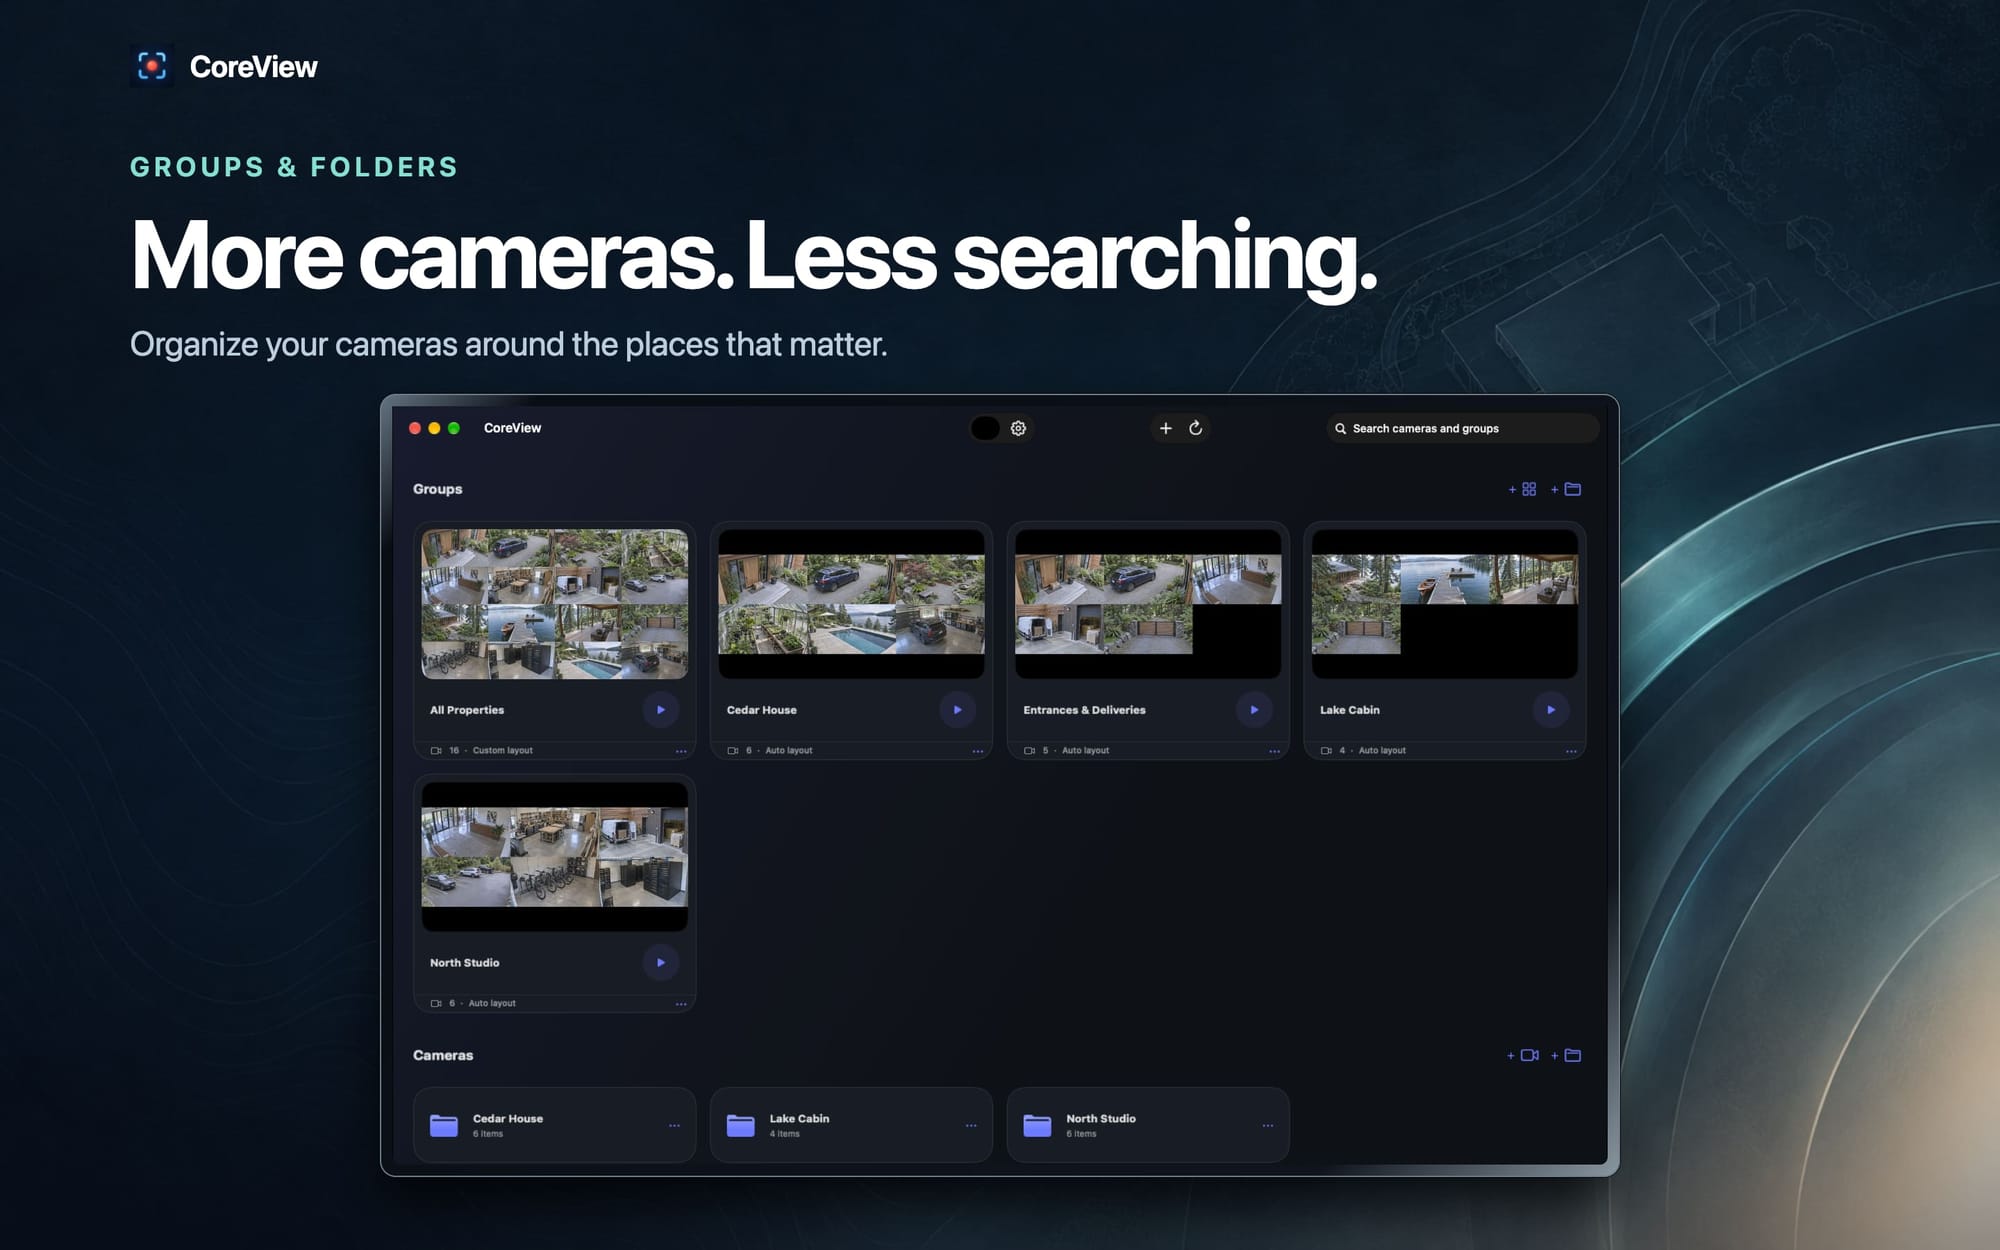
- At-a-glance cards. Each camera card shows the most recent image from the last time you watched that camera. Group cards show a preview of the whole mosaic. Browsing the library never starts a stream.
- Folders. Organize cameras and groups into folders, including folders inside folders. Drag items into a folder, or use Move….
- Search. Search cameras by name, type, or address. Search groups by their own name or by the names of the cameras in them.
- Pull to refresh. Refreshing reloads your library and runs camera discovery again.
Copy your setup to another device
- LAN Sync. Set up your cameras once, then send that setup to your other devices. Settings › LAN Sync lists the other devices on your network that are running CoreView. Choose one to send it this device's cameras (with their saved passwords), groups, folders, UniFi Protect systems, and Rhombus organizations.
- Nothing changes without your say. The other device shows who sent the setup, what it includes, and a six-digit code that matches the one on the sending device. Its setup is replaced only when you choose Replace there. Decline, and nothing changes.
- Replace, not merge. LAN Sync puts the sent setup in place of everything the other device had. If you change your mind, Restore Previous Configuration brings back what the device had before, and restoring can itself be undone.
- Private and local. Each transfer is encrypted and stays on your local network.
- What stays with each device. Volume, Sound Levels, PTZ mode, your account, and your licenses aren't sent.
- Both devices need CoreView open. On iPhone, iPad, Apple TV, and Apple Vision Pro, CoreView must also be in front.
Made for Mac
- Windows for everything. Each camera and each group opens in its own window, and the title bar hides along with the playback controls. If you rename a camera, its window follows the change, and if you delete a camera, its window closes.
- Menu bar cameras. You can choose cameras to appear in a menu bar panel. They stream only while the panel is open. Hover over a camera to turn its sound on or to open it in a window.
- Keyboard shortcuts.
- ⌘N adds a camera, and ⇧⌘N adds a group.
- ⌘F searches and ⌘R refreshes.
- ⌘, opens Settings.
- In PTZ mode, the arrow keys pan and tilt, and + and − zoom.
- Updates built in. The version from our website can check for updates and install them for you.
Made for iPhone and iPad
- An adaptive library that fits any screen size and orientation.
- Picture in Picture, and background audio for monitoring.
- On iPad with a keyboard, the same shortcuts work: add a camera, add a group, search, refresh, and Settings.
Made for Apple TV
- Designed around the Siri Remote, with Cameras, Settings, and Search tabs.
- Press and hold any camera, group, or folder to edit it, move it, or delete it.
- Playback controls in reach. Press Select to open a control bar. It includes Sound, Quieter and Louder, Rotate, Flip, Sound Levels, PTZ, Snapshot, and Record.
- Groups on the big screen. Select a camera in the mosaic to open its controls, including Smaller and Larger. Press Play/Pause to open the group's options.
- PTZ on the couch. PTZ mode adds a pad beside the video, with arrows, Home, zoom, and presets.
- Sign in with Apple works on Apple TV too.
Made for Apple Vision Pro
- CoreView runs natively on Apple Vision Pro, with groups, PTZ control, Picture in Picture, and background audio.
Settings and support
- Settings lives in the main window, alongside your cameras. Its pages are Account, Captures, LAN Sync, and Support, plus Menu Bar on the Mac. Apple TV has no Captures page, because captures there go straight to Photos.
- Send Logs to Support. Describe the problem, choose a timeframe, and optionally add a reply email. After sending, you get a reference number to include if you write to support.
- Diagnostic logging is off by default. Turn it on while you reproduce a problem, and it turns itself off after 24 hours. Logs never leave your device unless you send them, and they never include passwords or camera video.
Free to try, one license per device
- Without a license, CoreView streams for up to five minutes at a time. All of its features are available during that time.
- A device license removes the time limit on that device. To buy licenses, sign in with Apple and pay through Stripe.
- Buy as many licenses as you need, then assign them to your devices. You can move a license between your devices at any time.
- A licensed device keeps working offline for up to 30 days. It renews automatically whenever it connects.
- On Apple TV, you pay by scanning a QR code with your phone.
Your cameras, your network
- CoreView connects to your cameras directly. Their video and audio never pass through CoreView's servers.
- Camera passwords and API keys are stored on your device and are never uploaded to CoreView's servers. LAN Sync sends them only to a device you choose, encrypted, on your own network.
- Rhombus cameras are listed through Rhombus's own service, using your organization's API key. Their video still comes straight from the camera on your network.
- You don't need an account to use CoreView. You only need one to buy and manage licenses.
Requirements
- iPhone and iPad: iOS and iPadOS 26 or later
- Mac: macOS 26 or later
- Apple TV: tvOS 18 or later
- Apple Vision Pro: visionOS 26 or later
Thank you to everyone who tested CoreView along the way. We'd love to hear what you think, and you can reach us from Settings › Support in the app.