Remote Connect with ShowShark
Remote Connect
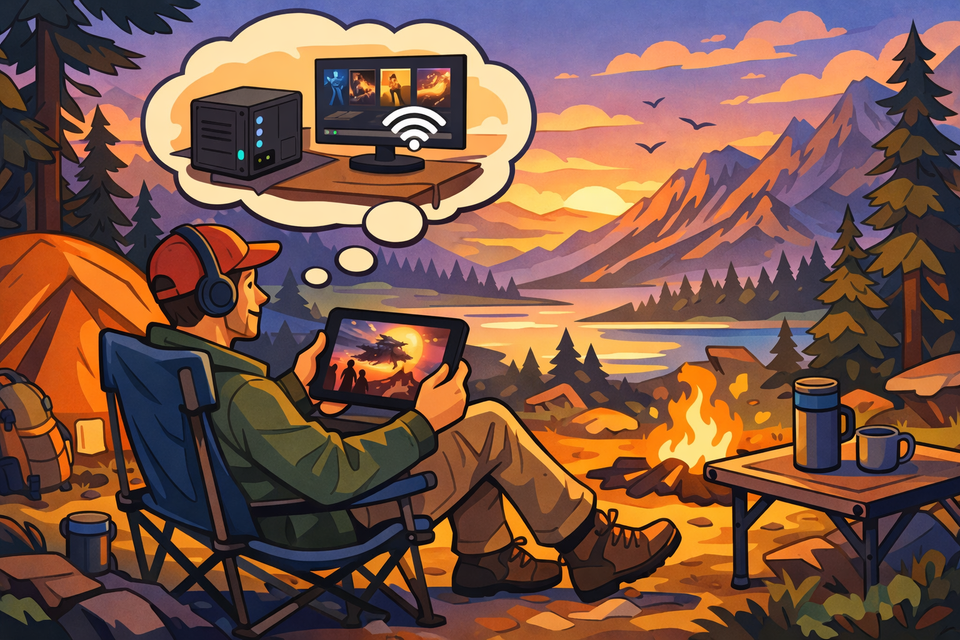
ShowShark can stream your media library to any of your devices, anywhere, without port forwarding, firewall changes, or third-party VPN apps. This guide walks through how to set it up and what to expect when you leave your home network.
How It Works
ShowShark uses an embedded networking layer based on Tailscale, an encrypted mesh networking technology. Rather than requiring you to install a separate VPN app and manage configuration files, ShowShark builds this capability directly into the server and client apps.
When your server and client are both enrolled, they can find and reach each other through a lightweight coordination service. The actual media traffic flows directly between them over an encrypted WireGuard tunnel; it never passes through a relay or third-party server. The connection works across NATs, firewalls, and cellular networks without any special configuration on your router.
The key idea: you set it up once on the server, and it works everywhere automatically.
Step 1: Set Up ShowShark Server
Before remote connect matters, you need a working local setup. Install ShowShark Server on your Mac, add your media locations, and let the library scan complete. Connect at least one ShowShark Client on your local network and confirm everything plays correctly. Remote connect builds on top of a working local installation; it is not a substitute for one.
Step 2: Sign In and Upgrade
Open ShowShark Server and navigate to the Upgrade tab in the sidebar (marked with a crown icon).
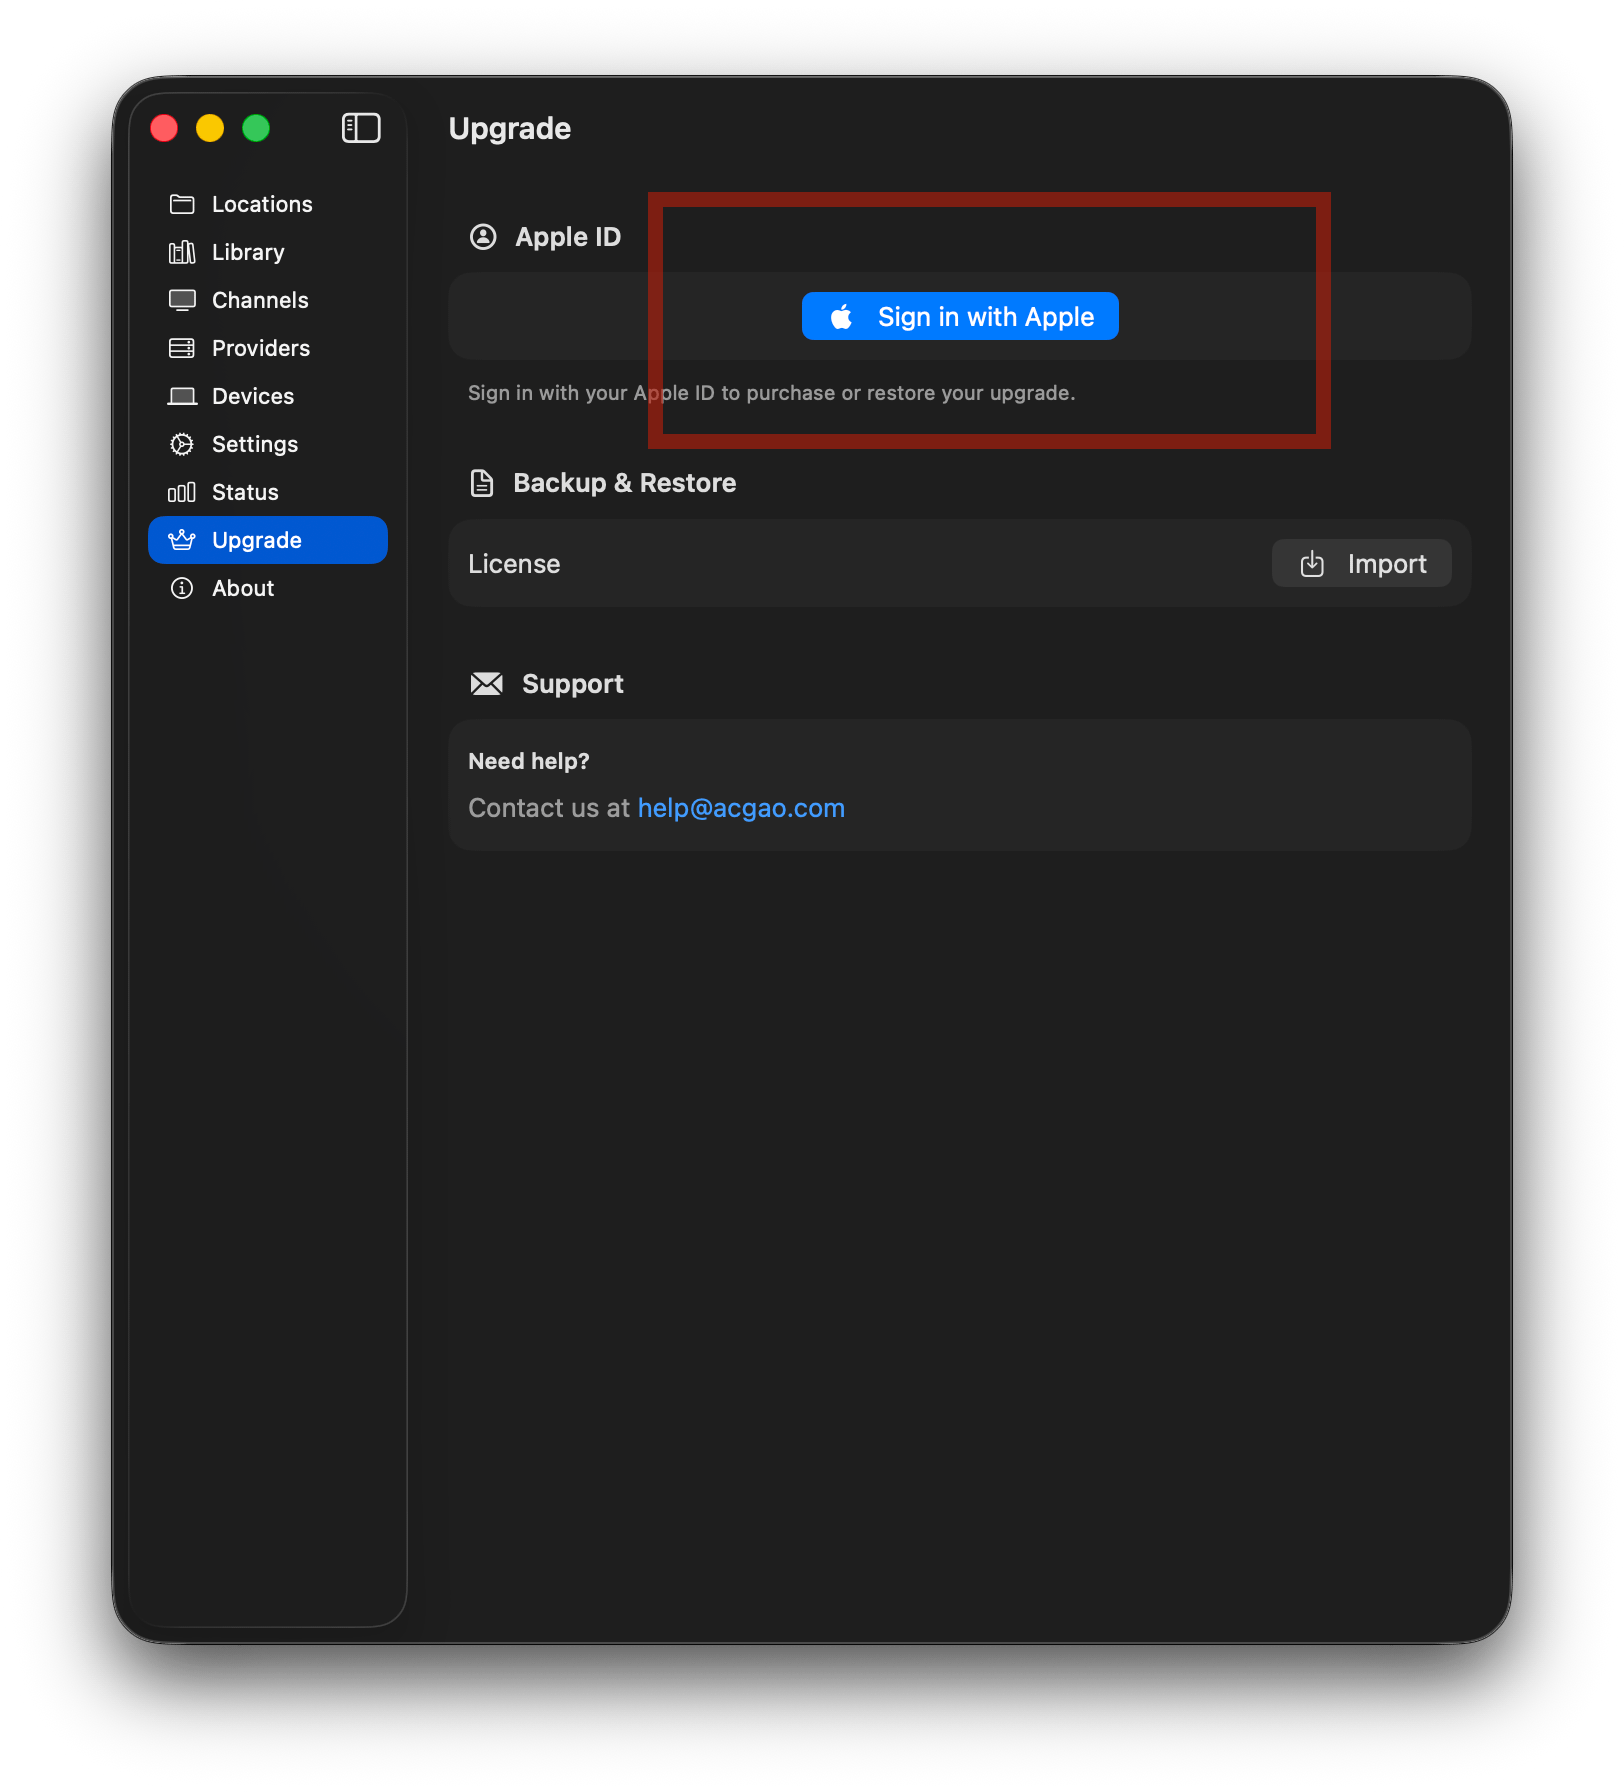
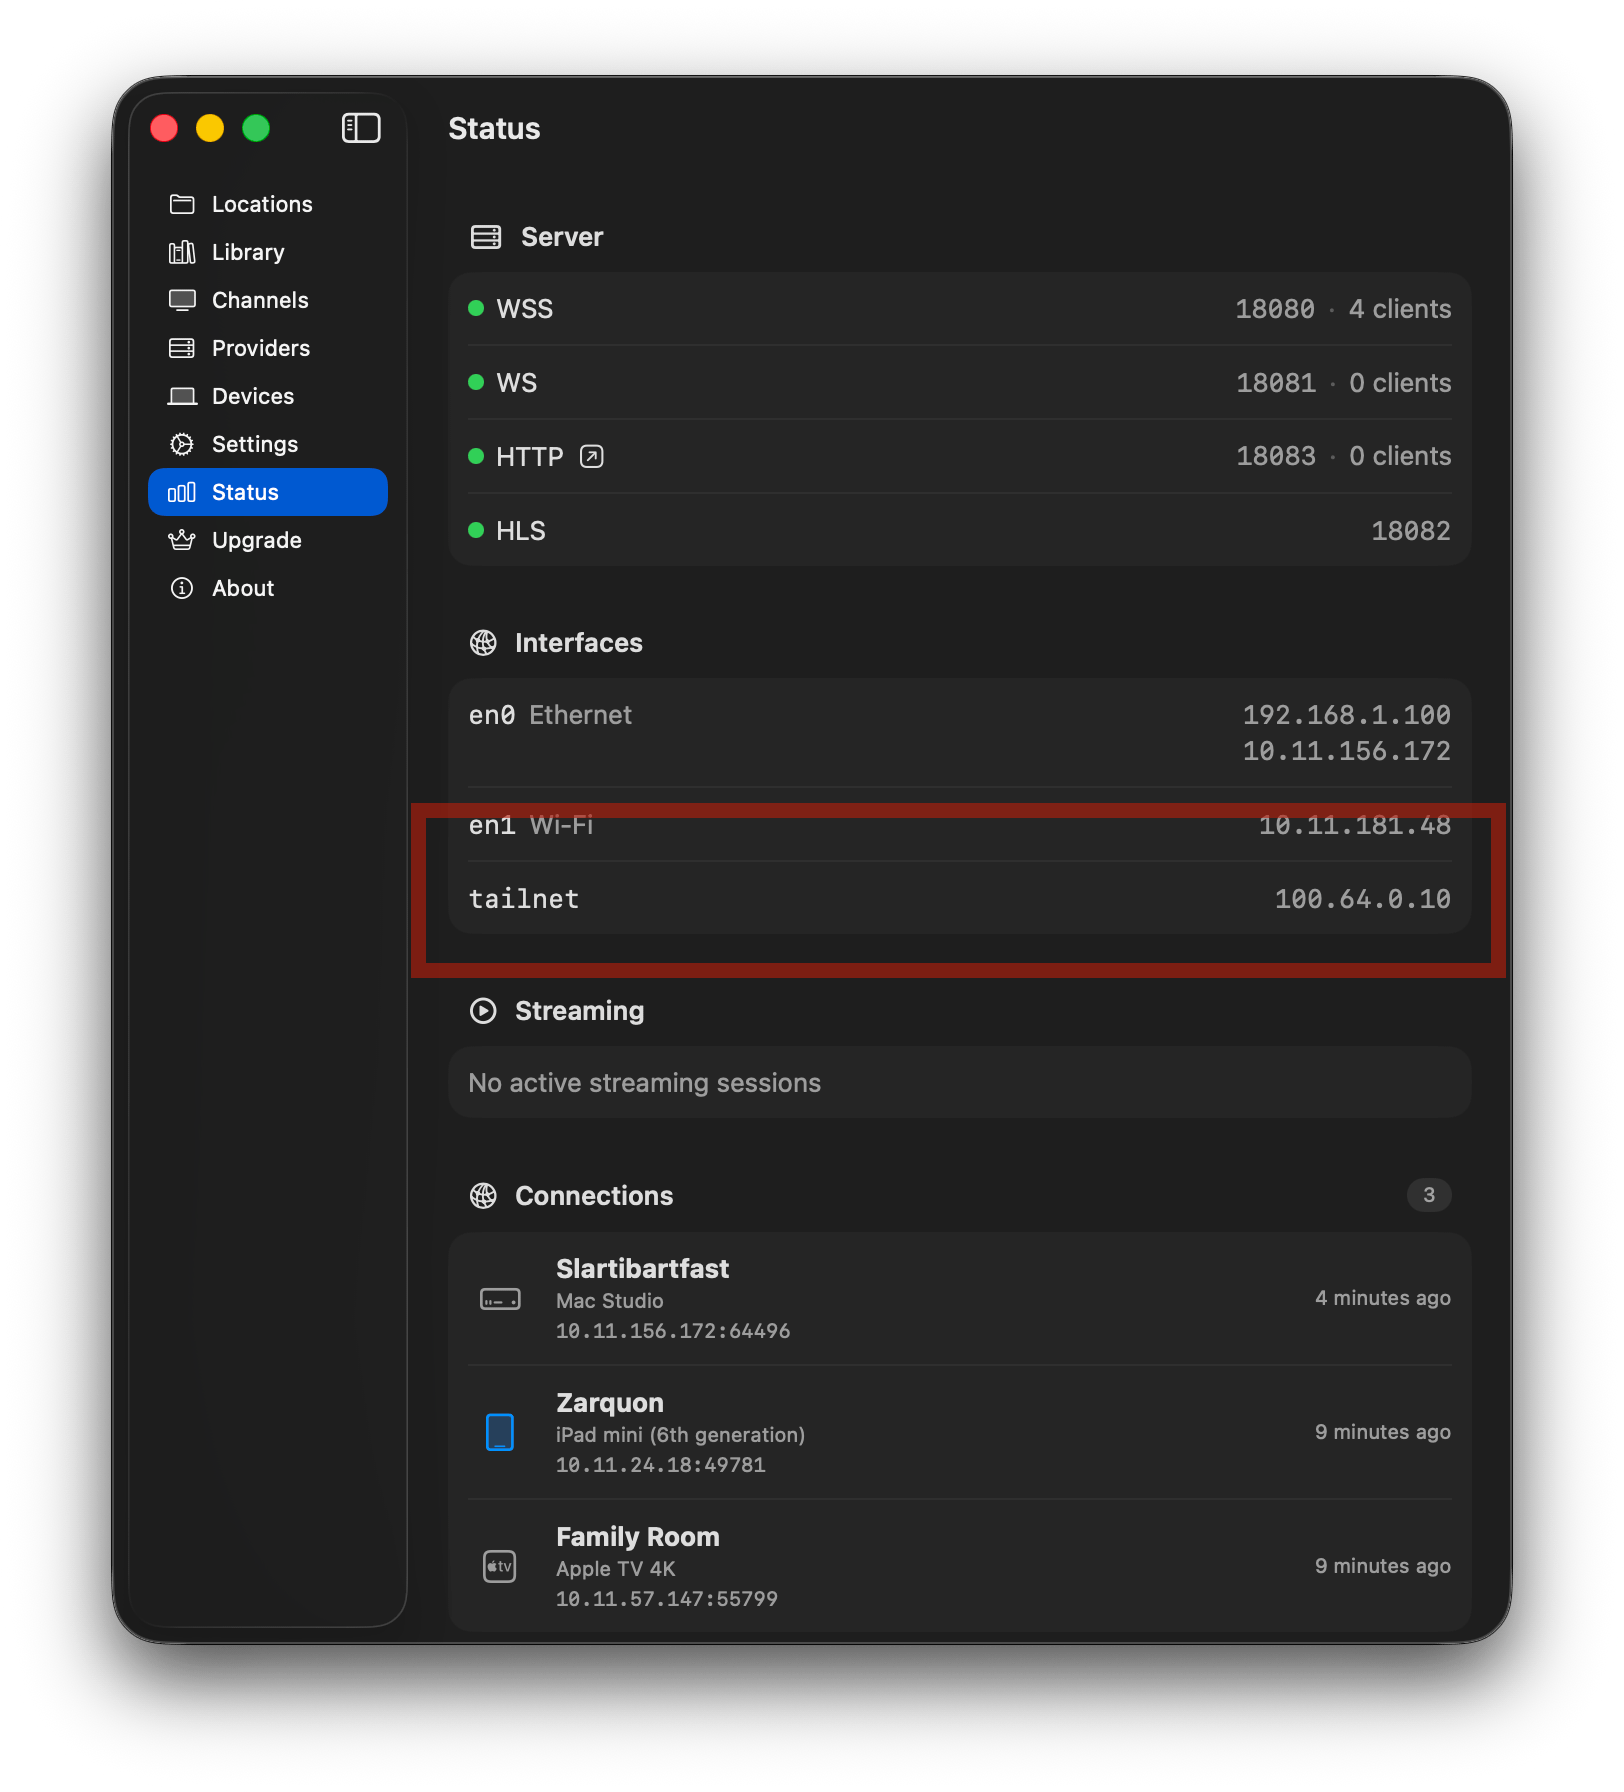
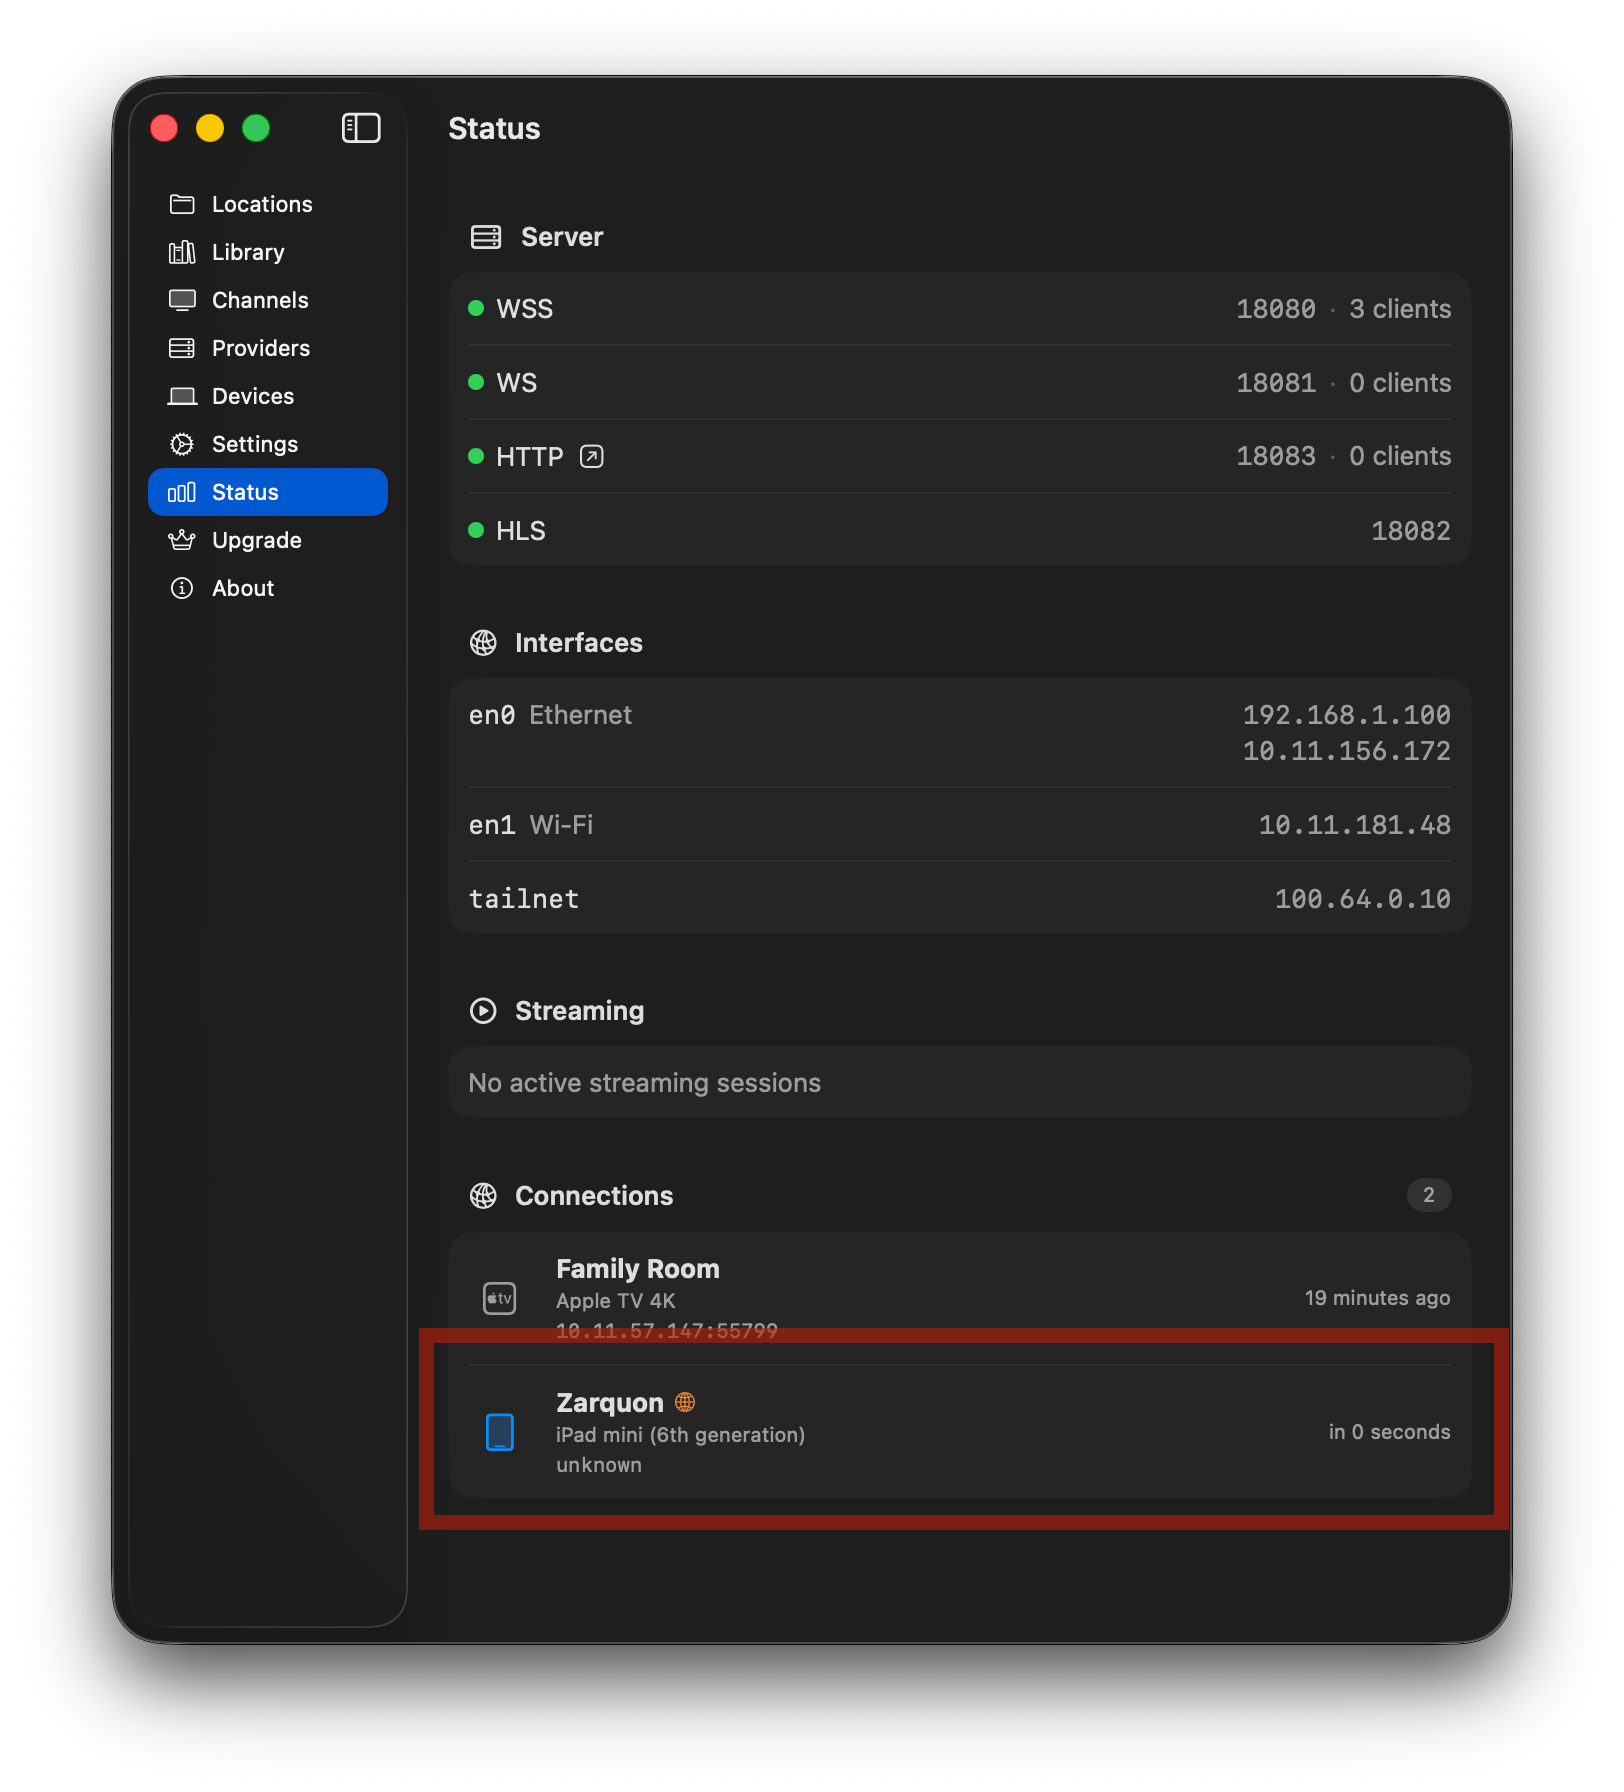
Sign in with your Apple account. ShowShark Server automatically enrolls itself in your private tailnet. You will see a "tailnet" entry appear in the Interfaces section of the Status tab, confirming the server is reachable remotely.
That is all the server-side setup required. There is nothing else to configure.
Step 3: Connect a Client Locally
Connect ShowShark Client -- running on your iPhone, iPad, Apple TV, Mac or Vision Pro -- to your server over the local network, the same way you normally would. During login, the server shares its remote connection credentials with the client behind the scenes. This handshake is invisible; you do not need to enter any codes or configure anything on the client.
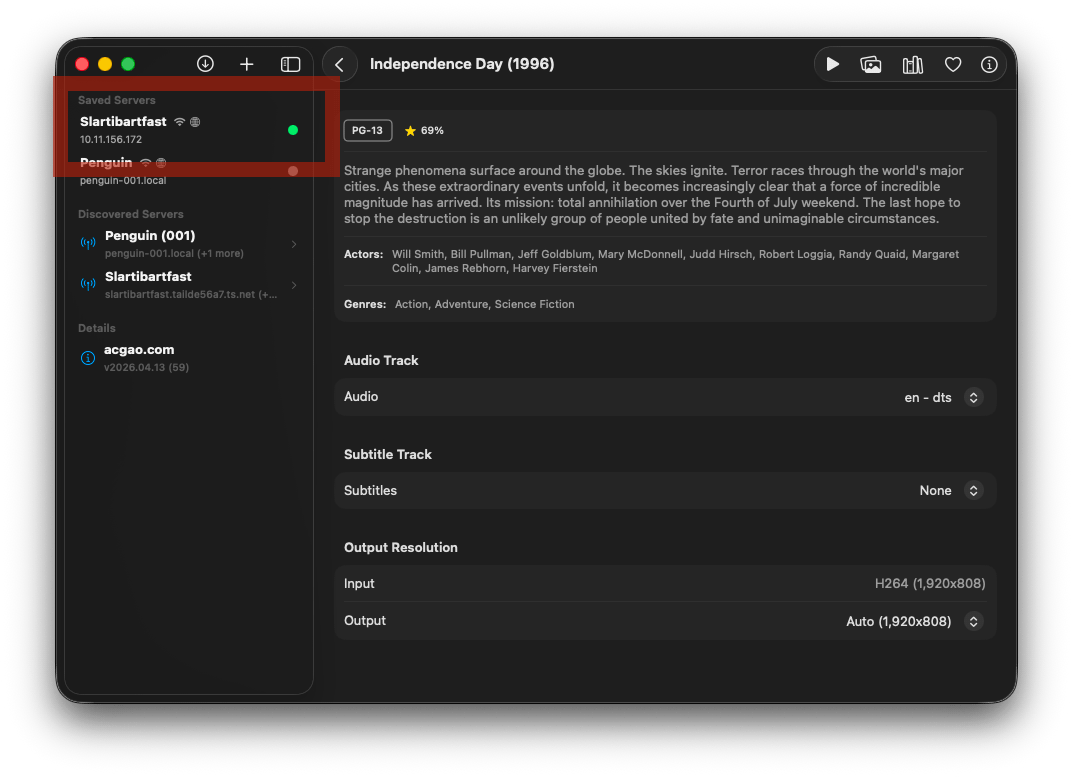
After this initial local connection, check your saved server entry in the client's server list. You should see a small wifi + globe icon next to the server name. This indicates the client has both local and remote connection details saved and is ready to connect from anywhere.
Step 4: Connect Remotely
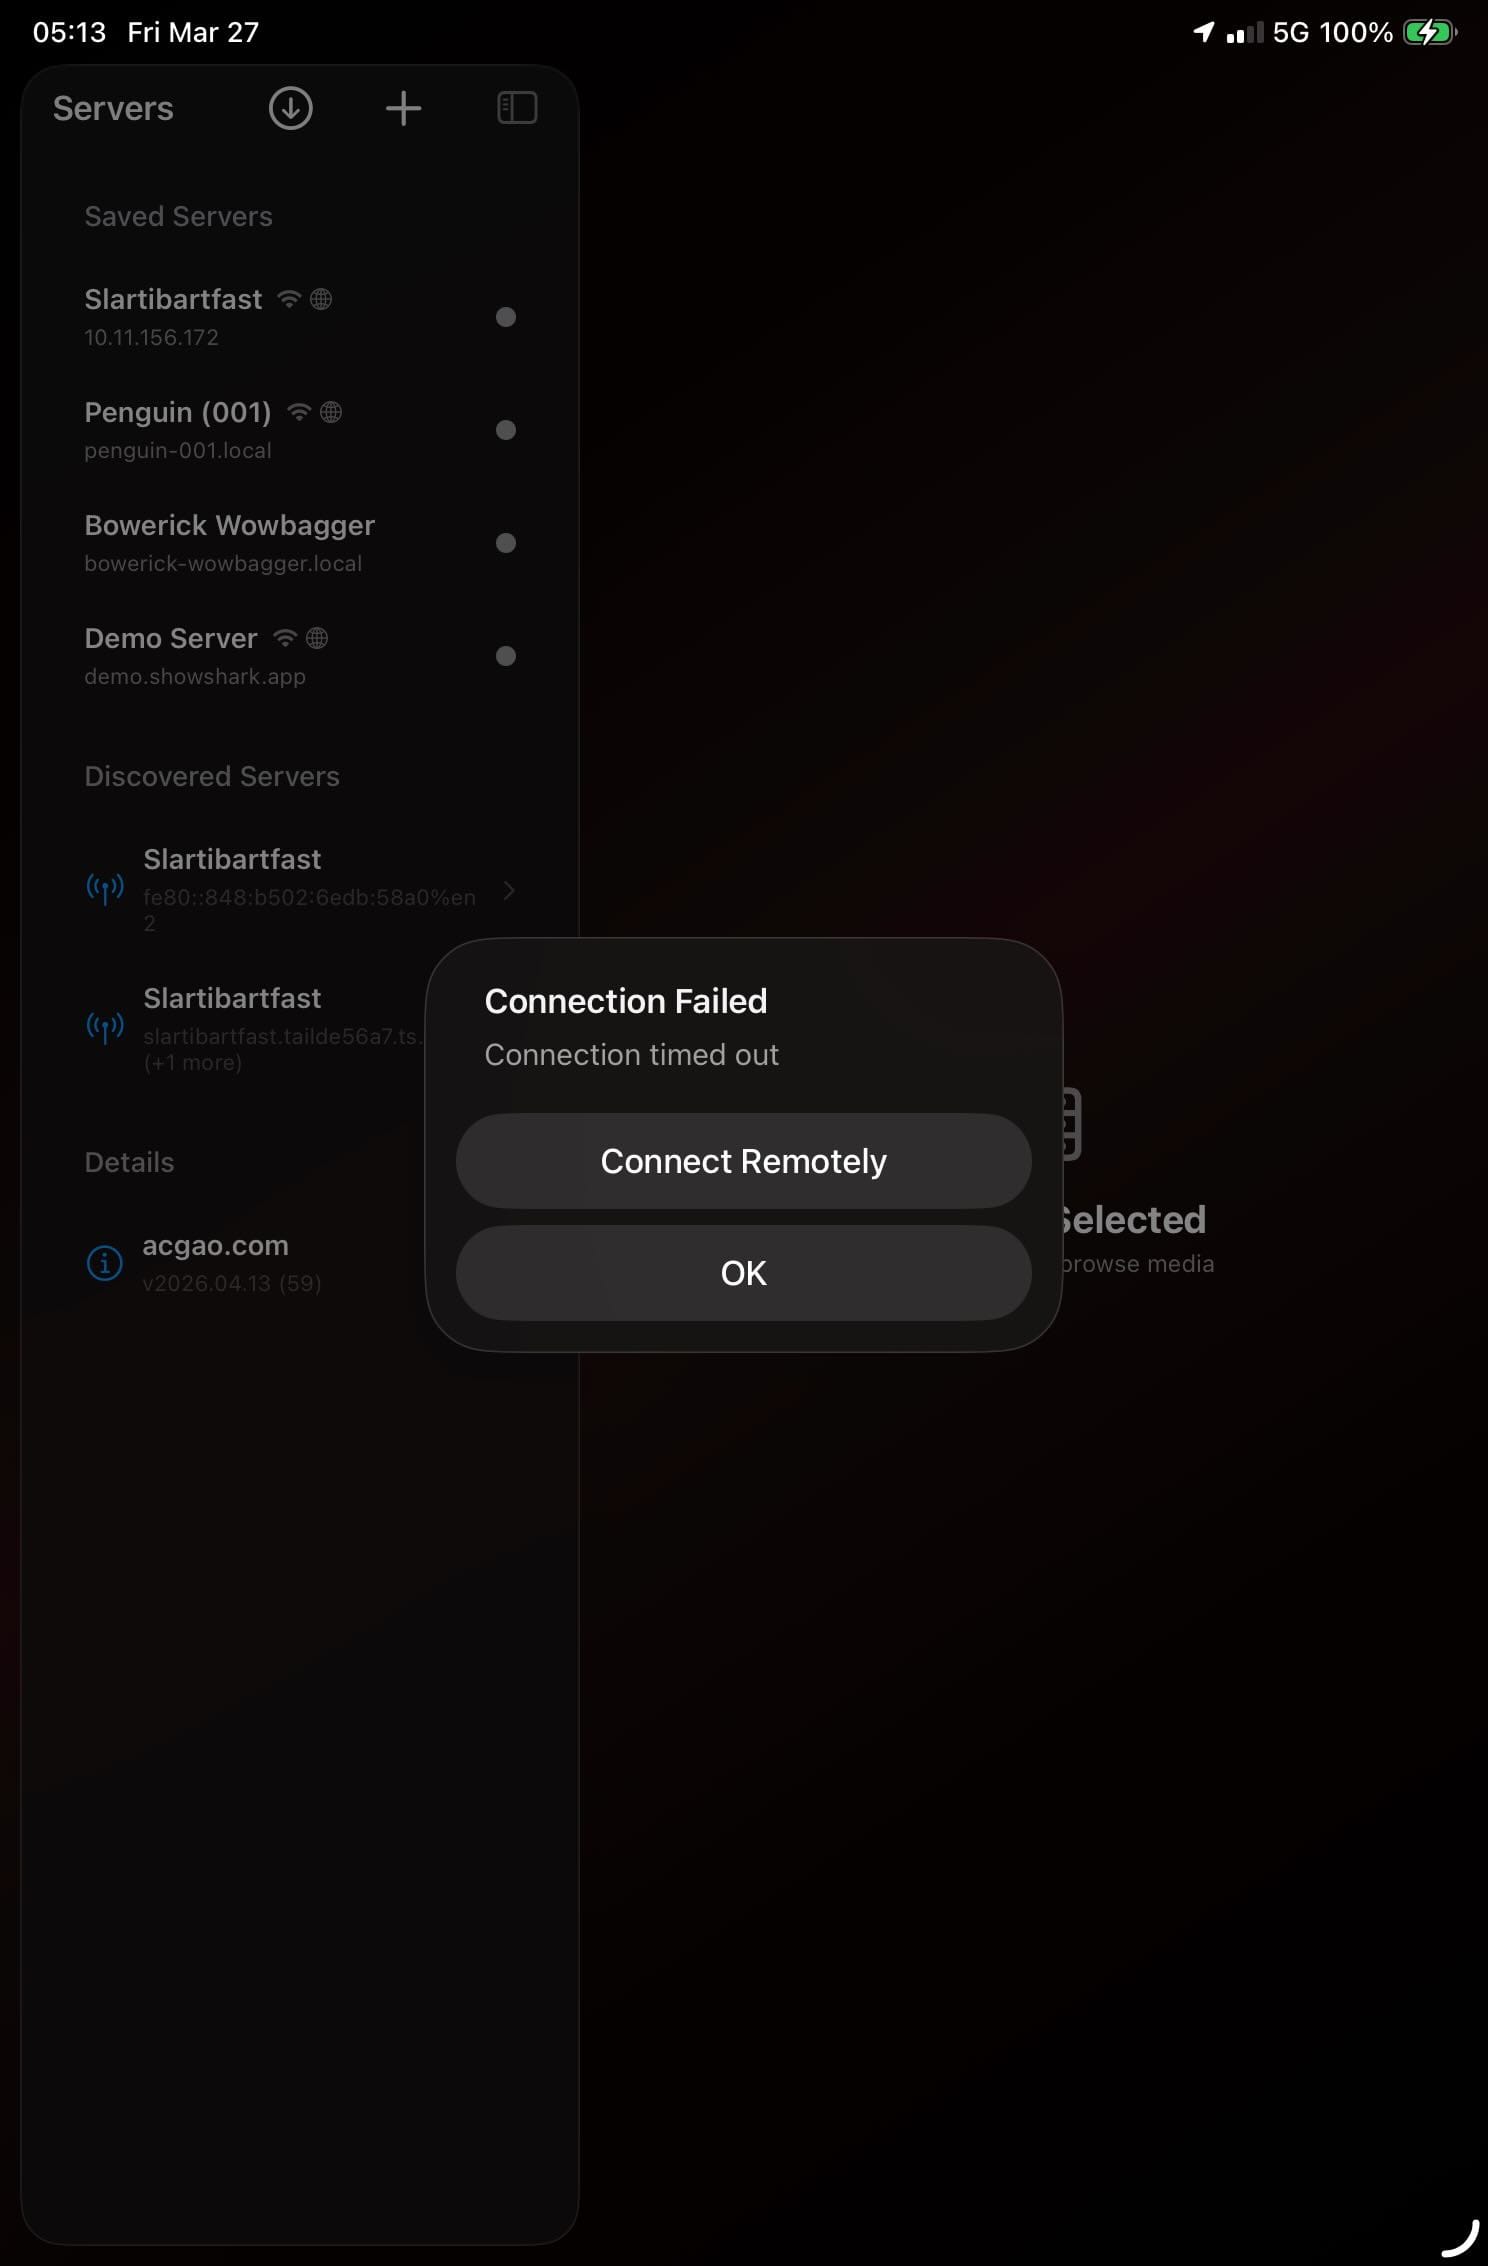
Leave your home network. Connect to a coffee shop, a hotel, or cellular data. Open ShowShark Client and tap your saved server.
The client first attempts a local connection. When that fails after several seconds(because you are no longer on the same network), an alert appears with a Connect Remotely button. Tap it.
ShowShark Client joins the tailnet, establishes an encrypted tunnel to your server, and connects. From this point forward, browsing your library and streaming video works exactly as it does at home. The connection is peer-to-peer and encrypted end-to-end.
What You Will See
On the Client
Your saved server displays the wifi + globe icon, indicating it supports both local and remote connections. When connected remotely, playback and library browsing behave identically to a local session.
On the Server
Open the Status tab and look at the Connections section. Next to any remotely connected client, you will see an orange globe icon with a tooltip that reads "Connected via tailnet." This tells you at a glance which clients are on the local network and which are connecting from elsewhere.
Summary
The entire setup is:
- Set up ShowShark Server with your media
- Sign in via the Upgrade tab
- Connect a client on your local network (credentials transfer automatically)
- When you are away, tap Connect Remotely when prompted
No firewall rules. No DNS configuration. No third-party accounts. No separate VPN app to install or toggle. ShowShark handles the networking so you can just watch your media.